Why Choose Aluminium Pool Fencing?
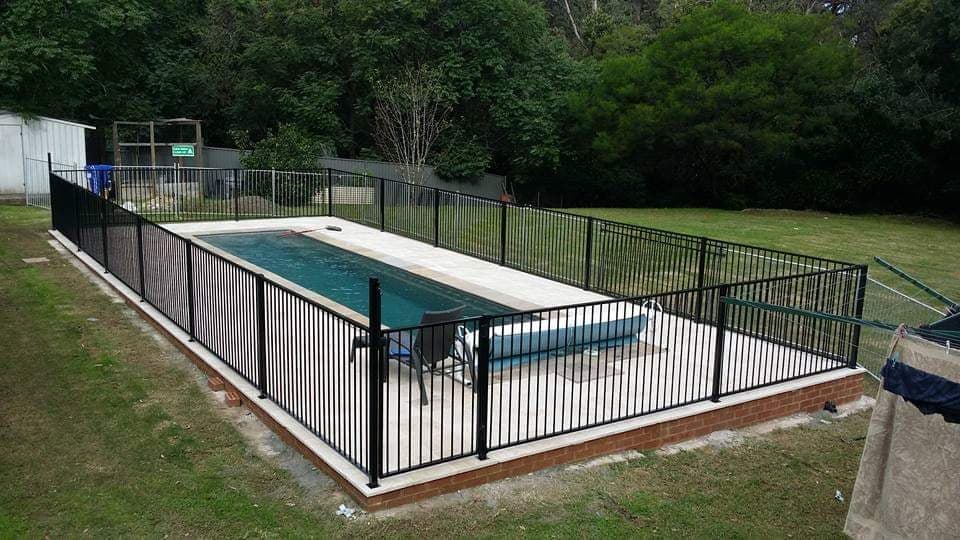
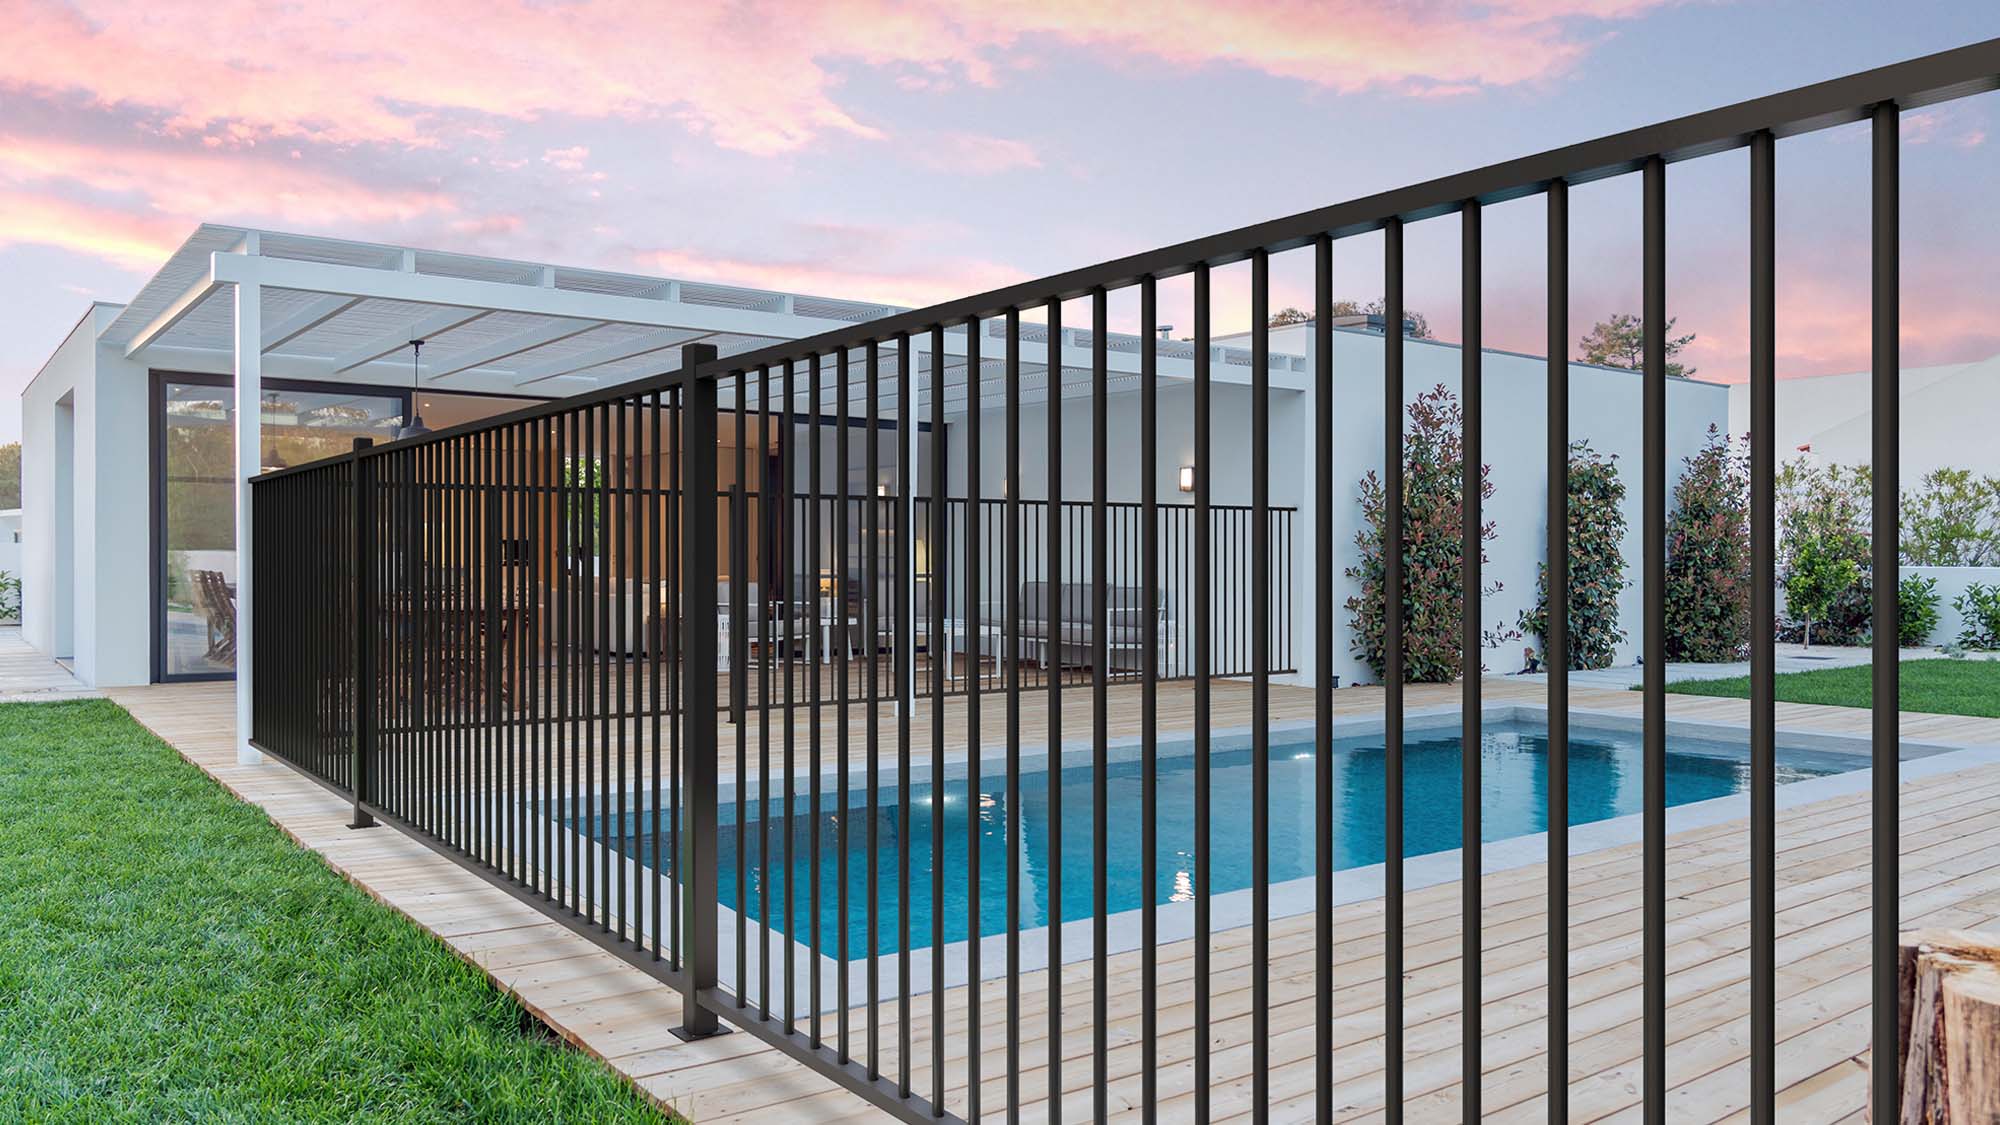
Aluminium pool fencing installation stands out due to its durability, low maintenance, and sleek appearance. It offers a modern look while ensuring the safety and security of your pool area. The lightweight nature of aluminium makes it easy to handle during installation, yet it remains strong enough to provide reliable protection.
Preparing for Aluminium Pool Fencing Installation
Before beginning the installation process, it’s crucial to measure your pool area accurately. This ensures you purchase the right amount of materials. Additionally, check local regulations and obtain any necessary permits. Having a clear plan and understanding of the layout will streamline the process.

Tools and Materials Needed
To install aluminium pool fencing, you will need the following tools and materials:
- Aluminium fence panels
- Posts
- Concrete mix
- Measuring tape
- Level
- Post hole digger
- Drill
- Screws
- Safety goggles and gloves
Step-by-Step Pool Aluminium Fencing Installation Guide

Step 1: Mark the Fence Line
Start by marking the perimeter of your pool area where the fence will be installed. Use stakes and string to create a clear guideline. This step ensures a straight and even fence line.
Step 2: Dig Post Holes
Using a post hole digger, create holes for the fence posts. The holes should be approximately one-third the length of the posts and spaced according to the width of your fence panels. Ensure the holes are deep enough to provide stability.
Step 3: Set the Posts
Place the fence posts into the holes and fill them with concrete mix. Use a level to check that each post is vertical and aligned with the marked fence line. Allow the concrete to cure according to the manufacturer’s instructions before proceeding.
Step 4: Attach the Fence Panels
Once the posts are securely in place, begin attaching the aluminium fence panels. Use a drill and screws to fasten the panels to the posts. Make sure each panel is level and aligned properly. Continue this process until all panels are installed.
Step 5: Install the Gate
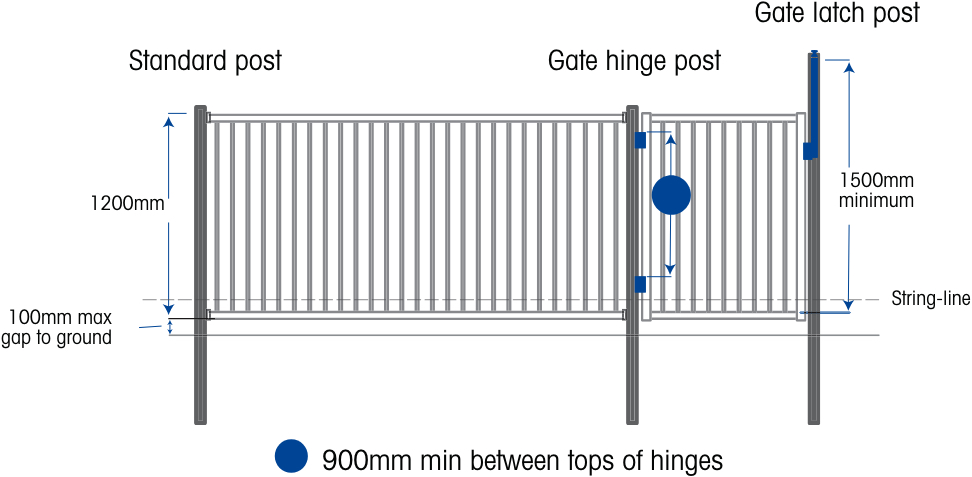
If your pool area requires a gate, install it following the manufacturer’s guidelines. Ensure the gate latch is self-closing and self-latching to comply with safety regulations. Test the gate to confirm it operates smoothly and securely.
Maintenance Tips
Aluminium pool fencing requires minimal maintenance. Regularly inspect the fence for any signs of damage or wear. Clean the fence with mild soap and water to keep it looking pristine. Avoid using abrasive cleaners that could scratch the surface.
Enhancing Your Pool Area
Consider adding decorative elements to your aluminium pool fence to enhance the aesthetic appeal. You can incorporate plants, lighting, or even custom-designed panels to create a unique look. These additions can transform your pool area into an inviting and stylish space.
Conclusion
Aluminium pool fencing Installation is a practical and stylish solution for ensuring pool safety. By following the steps outlined in this guide, you can achieve a professional-looking installation that will provide security and enhance the beauty of your pool area. Remember to check local regulations and maintain your fence regularly to enjoy its benefits for years to come.

